
General Finishes Gel Stain is a popular water-based formula designed for staining wood surfaces. It offers excellent color retention and is easy to apply, providing a professional finish.
1.1 What is General Finishes Gel Stain?
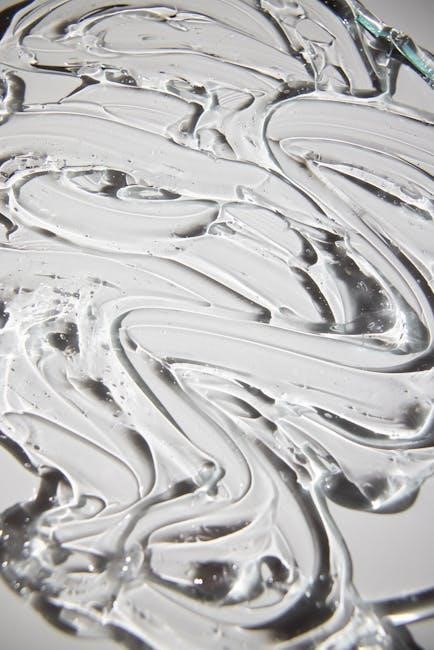
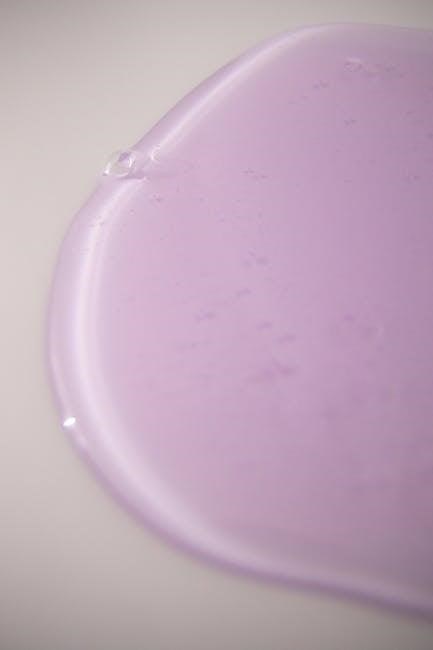
General Finishes Gel Stain is a water-based, non-toxic formula designed for staining wood surfaces. It has a thick, gel-like consistency, making it easy to control during application. Unlike traditional stains, it doesn’t require a primer and adheres well to both raw wood and previously finished surfaces. Known for its excellent color retention, it’s ideal for furniture, cabinets, and woodwork. The gel stain is available in various colors, offering a rich, professional-looking finish with minimal odor and low VOCs.
1.2 Benefits of Using Gel Stain for Wood Finishing
Gel stain offers ease of use and control, preventing drips and runs. It works on various surfaces, including already finished wood, and requires no primer. The finish is vibrant and consistent, enhancing the wood grain. It’s low odor, water-based, and dries quickly, making it ideal for indoor projects. The durability and color retention ensure a professional-quality result, perfect for furniture, cabinets, and trim. This makes it a versatile and efficient choice for both novices and experienced woodworkers.
Preparation for Applying General Finishes Gel Stain
Proper preparation ensures optimal results. Clean the surface thoroughly, removing dirt, oil, and wax. Sand the wood to create a smooth texture for stain adhesion.
2.1 Surface Preparation: Cleaning and Sanding
Before applying General Finishes Gel Stain, thoroughly clean the wood surface to remove dirt, grease, and wax. Sand the wood using a fine-grit sandpaper to create a smooth texture that ensures better stain adhesion. Wipe away all dust and debris with a tack cloth to achieve a clean, even surface for staining. Proper preparation is essential for a professional-looking finish.
2.2 Removing Old Finishes and Filling Imperfections
Strip old finishes using sandpaper or a paint stripper. For imperfections like cracks or dents, fill them with wood filler and let it dry. Sand filled areas smooth to match the surrounding surface. Ensure all edges are feathered for seamless integration. After repairing, wipe clean with a tack cloth to remove dust. This step ensures a uniform base for the gel stain, promoting a flawless and professional appearance.
Application of General Finishes Gel Stain
Apply General Finishes Gel Stain evenly with a high-quality brush or foam pad. Work in small sections, following the wood grain for a smooth finish. Allow proper drying time between coats as instructed for best results.
3.1 Tools Needed for Application
To achieve a smooth, even finish, use high-quality tools like natural-bristle brushes or foam pads. Clean, lint-free rags are essential for wiping excess stain. A drop cloth or old sheets protect work surfaces. Always wear gloves to prevent skin staining. Ensure proper ventilation by opening windows or using a fan. These tools and precautions help in applying General Finishes Gel Stain effectively, ensuring professional-looking results on your wood projects.
3.2 Step-by-Step Application Process
Start by stirring the gel stain thoroughly. Apply a thin, even coat using a natural-bristle brush or foam pad, working in the direction of the wood grain. Use clean rags to wipe away excess stain, ensuring smooth coverage. Allow the first coat to dry completely as per the instructions. If desired, apply additional coats, following the same process. Avoid over-application to prevent drips. Once finished, dispose of rags responsibly to prevent fires and clean tools with soap and water.
Drying and Curing Times
Gel stain typically dries to the touch in 1-2 hours. Allow 24 hours between coats for proper drying. Full cure takes 7-10 days for maximum durability and hardness.
4.1 Recommended Drying Time Between Coats
For optimal results, allow each coat of General Finishes Gel Stain to dry 24 hours before applying the next. This ensures proper adhesion and a smooth finish.
4.2 Curing Time for Full Hardness and Durability
General Finishes Gel Stain typically requires 7-10 days to fully cure and reach its maximum hardness and durability. Factors like temperature and humidity can influence curing time. Ensure the surface is dry and free from dust before use. For best results, avoid heavy use during the curing period. Proper curing ensures a long-lasting, professional-quality finish, especially on high-traffic surfaces.
Troubleshooting Common Issues
Address blotching by ensuring even application and proper surface prep. Fix excess stain or drips promptly with a clean cloth to maintain a smooth finish.
5.1 Blotching and Uneven Color
Blotching occurs when gel stain doesn’t absorb evenly, often due to improper sanding or uneven surfaces. To fix, lightly sand the area and reapply a thin coat, ensuring consistent coverage. Avoid over-application, as this can exacerbate blotching. Always test the stain on a small, inconspicuous area first to gauge absorption and color consistency. Proper preparation and application techniques are key to achieving a uniform finish.
5.2 Fixing Excess Stain or Drips
Excess stain or drips should be addressed immediately. Use a clean, lint-free cloth to gently blot the area, feathering it out towards the edges. Avoid rubbing, as it may spread the stain unevenly. If the stain has dried, lightly sand the area to smooth it out before applying another thin coat. Ensuring even application and monitoring the surface during drying can prevent such issues. Always work in a well-ventilated space to maintain optimal conditions for staining.

Tips for Achieving a Professional Finish
For a professional finish, ensure smooth, even strokes and thin coats. Allow proper drying time between layers to avoid blotching and achieve a polished look.
6.1 Layering for Depth and Richness
Layering General Finishes Gel Stain adds depth and richness to your wood projects. Start with a base coat, allowing it to dry fully. Apply subsequent thin layers, blending edges for a seamless look. This technique enhances color intensity and creates a dimensional appearance. Always follow drying times between coats to prevent muddying the finish. Proper layering results in a professional, polished surface that highlights the wood’s natural beauty while adding durability.
6.2 Enhancing Grain Pattern Visibility
To enhance the grain pattern visibility when using General Finishes Gel Stain, apply thin, even coats using a high-quality brush or foam pad. Work in the direction of the wood grain to avoid obscuring it. Avoid over-saturating the surface, as this can fill in the grain. Lightly sand between coats to maintain texture. This method ensures the natural beauty of the wood shines through while achieving a vibrant, professional finish with optimal durability.
Safety Precautions
Always work in a well-ventilated area to avoid inhaling fumes. Wear protective gear, including gloves and safety goggles, to prevent skin and eye irritation during application.
7.1 Working in a Well-Ventilated Area

Working in a well-ventilated area is crucial when applying General Finishes Gel Stain to prevent inhaling fumes. Open windows and doors to ensure good airflow. Using fans can help circulate air, reducing the concentration of vapors. Proper ventilation not only enhances safety but also helps the stain dry evenly. Avoid working in confined or poorly ventilated spaces, as this can lead to respiratory discomfort and uneven finishes. Always prioritize fresh air to ensure a safe and successful project.
7.2 Protective Gear and Safe Handling
Wearing protective gear is essential when using General Finishes Gel Stain. Use gloves to prevent skin irritation and goggles to protect eyes from splashes. A dust mask or respirator can help minimize inhalation of fumes. Handle the product carefully, avoiding prolonged skin contact. Keep the stain out of reach of children and pets. Ensure the workspace is clear of flammable materials, as the product may emit vapors. Follow all safety guidelines to ensure a safe and successful staining process.
Maintenance and Touch-Ups
Regular cleaning and light sanding can maintain the finish. For scratches, apply a small amount of General Finishes Gel Stain, blending it with the surrounding area for consistency.
8.1 Regular Maintenance for Longevity
Regular maintenance is essential to preserve the durability and appearance of General Finishes Gel Stain. Dust surfaces periodically and clean with a mild soap solution to prevent dirt buildup. Avoid harsh chemicals or abrasive cleaners, as they may damage the finish. For minor wear, lightly sand the area and apply a fresh coat of stain or topcoat. Inspect high-traffic areas regularly and address scratches promptly. Proper care ensures the finish remains vibrant and protects the wood for years to come.
8.2 Touch-Up Techniques for Scratches
To address scratches, lightly sand the area using fine-grit sandpaper until smooth. Clean the surface with a tack cloth to remove dust. Apply a small amount of General Finishes Gel Stain with a clean cloth, blending it into the surrounding area. Allow it to dry as per instructions. For deeper scratches, repeat the process until the area is even. Finally, seal with a topcoat to protect the repair; This method ensures scratches are nearly invisible, maintaining the finish’s integrity and appearance.