AO Smith Water Heater Manual: A Comprehensive Guide
Navigating hot water solutions‚ this guide details AO Smith’s reliable performance and efficiency. Explore installation‚ operation‚ maintenance‚ and troubleshooting for optimal use and longevity.
Understanding Your AO Smith Water Heater
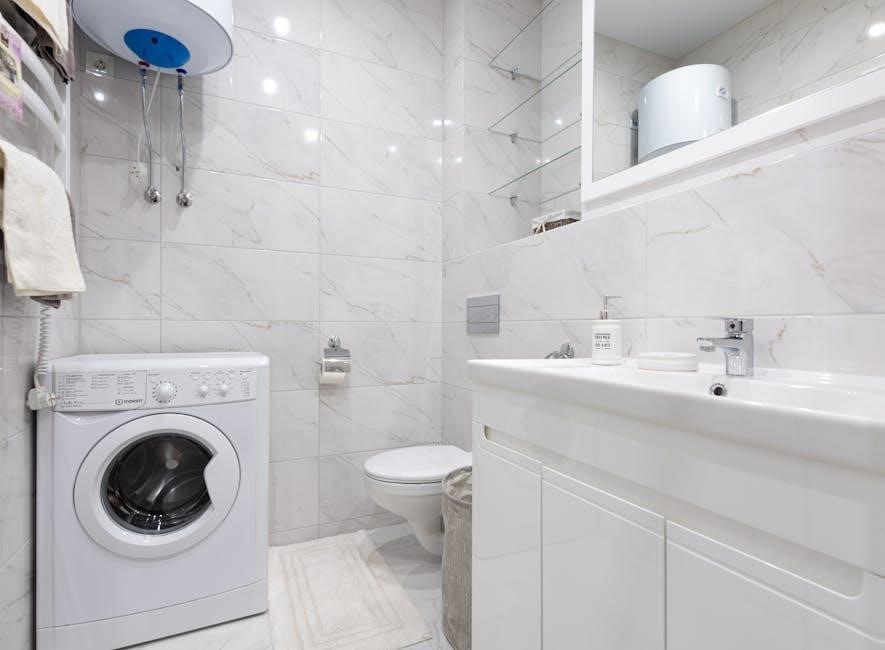
AO Smith water heaters are engineered for consistent performance and durability‚ becoming a trusted choice for homes across India. Understanding the core components and operational principles of your unit is crucial for safe and efficient use. These heaters‚ available in both instant and storage tank configurations‚ cater to diverse hot water demands – from quick showers to full household needs.
Key to their reliability is a focus on energy efficiency‚ reducing utility bills while providing a steady supply of hot water. AO Smith geysers boast features like Blue Diamond technology for enhanced tank protection and multiple safety mechanisms. Familiarizing yourself with these features‚ as detailed in this manual‚ will maximize your heater’s lifespan and ensure optimal performance throughout the seasons. Proper understanding also facilitates effective troubleshooting when minor issues arise‚ potentially avoiding costly service calls.
This section will lay the groundwork for a comprehensive understanding of your AO Smith water heater‚ setting the stage for safe installation‚ efficient operation‚ and proactive maintenance.
Model Identification and Key Features
Accurate model identification is the first step to accessing specific information about your AO Smith water heater. Locate the model number and serial number on the unit’s data plate – typically found on the exterior casing. This information is vital when contacting customer support or ordering replacement parts.
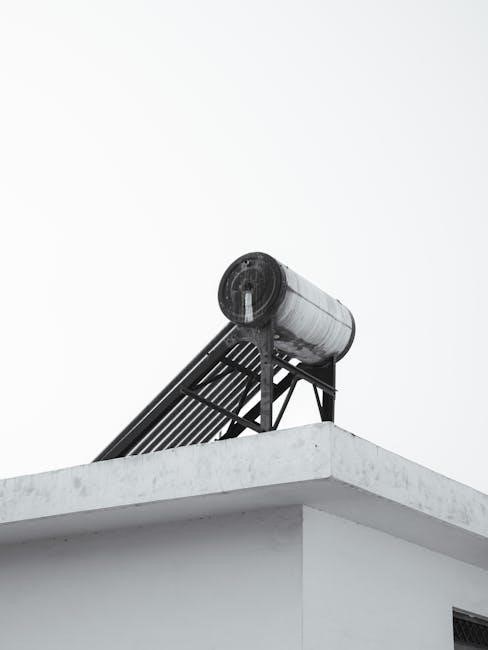
AO Smith offers a diverse range of water heaters‚ including instant (tankless) and storage tank models. Key features often include Blue Diamond technology for superior tank lining‚ protecting against corrosion and extending lifespan. Many models feature multiple safety protections‚ like thermal cut-outs and pressure relief valves. Energy-efficient designs minimize electricity consumption‚ reducing operating costs.
Compact instant models are ideal for small spaces and on-demand hot water‚ while larger storage tanks provide a consistent supply for families. Understanding these features‚ and how they apply to your specific model‚ will enhance your user experience and ensure optimal performance. Refer to the detailed specifications section for a complete list of features for your unit.
Safety Precautions & Warnings
Prioritizing safety is paramount when installing‚ operating‚ and maintaining your AO Smith water heater. Always disconnect the power supply (electrical or gas) before performing any maintenance or repairs. Never attempt repairs you are not qualified to perform; contact a licensed professional.
Be aware of scalding hazards. Water temperatures above 140°F (60°C) can cause severe burns. Adjust the thermostat to a safe setting‚ and supervise children and individuals with disabilities. Regularly test the temperature relief valve to ensure it’s functioning correctly‚ preventing pressure buildup.
Inspect the water heater for leaks or signs of corrosion. Do not use flammable materials near the unit. Ensure proper ventilation‚ especially for gas models‚ to prevent carbon monoxide poisoning. Follow all local codes and regulations during installation and operation. Ignoring these warnings could result in property damage‚ injury‚ or even death.

Installation Guide
Proper installation ensures efficient and safe operation. This section details pre-installation checks‚ step-by-step procedures for storage and instant models‚ and crucial electrical grounding instructions.
Pre-Installation Checklist
Before beginning installation‚ a thorough checklist is vital for a smooth and safe process. First‚ verify the correct water heater model for your household’s hot water demands – consider both storage and instant options. Ensure your home’s electrical system meets the heater’s voltage requirements‚ and a dedicated circuit is available.
Inspect the installation location; it must be level‚ structurally sound‚ and protected from freezing temperatures. Confirm adequate space around the unit for maintenance and servicing. Gather all necessary tools‚ including pipe wrenches‚ screwdrivers‚ electrical testers‚ and Teflon tape.
Review local plumbing and electrical codes to ensure compliance. Check for any existing shut-off valves and their operational status. Finally‚ carefully unpack the water heater and inspect it for any shipping damage before proceeding. Addressing these points upfront prevents complications during installation and guarantees optimal performance.
Step-by-Step Installation Process (Storage & Instant)
For storage tank heaters‚ begin by connecting the cold water inlet and hot water outlet pipes‚ using Teflon tape on all threaded connections. Ensure proper grounding before connecting the electrical supply – follow wiring diagrams precisely. Carefully fill the tank with water before energizing the heating element to prevent damage.
Instant water heaters require a high-amperage electrical circuit. Connect the water lines‚ ensuring flow direction is correct. These units are typically wall-mounted‚ so secure the bracket firmly. Double-check all connections for leaks after initial water flow.
Regardless of type‚ always test for leaks and proper operation after installation. For both‚ a pressure relief valve should be installed and tested. Refer to the detailed diagrams in this manual for specific model instructions. Professional installation is recommended if you are uncomfortable with plumbing or electrical work.
Electrical Connections & Grounding
Prioritize safety: Always disconnect the main power supply before commencing any electrical work. AO Smith water heaters require dedicated circuits‚ sized appropriately for the unit’s wattage – consult the model’s specifications. Use the correct gauge wiring as specified in the manual to prevent overheating and fire hazards.
Grounding is crucial for preventing electrical shock. Connect the green or bare copper grounding wire to the designated grounding terminal on the water heater. Never connect the ground wire to a water pipe. Ensure the electrical box is properly grounded as well.
Follow the wiring diagram provided with your specific model. Incorrect wiring can damage the heater and void the warranty. If unsure‚ consult a qualified electrician. After connection‚ double-check all connections are secure before restoring power.
Operation & Maintenance
Maximize efficiency and lifespan by understanding thermostat controls and performing routine maintenance. Regular flushing and anode rod checks are vital for peak performance.
Thermostat Adjustment & Temperature Control
Understanding your AO Smith water heater’s thermostat is crucial for efficient operation and safety; Most models feature adjustable temperature settings‚ typically ranging from 120°F to 140°F (49°C to 60°C). Lowering the temperature can significantly reduce energy consumption and minimize the risk of scalding‚ especially for households with young children or elderly individuals.
To adjust the temperature‚ locate the thermostat access panel – often behind a removable cover on the water heater. Use a screwdriver to carefully remove the cover and access the thermostat dial. Rotate the dial to your desired temperature setting. Always allow sufficient time (typically 24 hours) for the water to reach the new temperature before making further adjustments.

Caution: Never set the thermostat above 140°F (60°C) due to the increased scalding hazard. Regularly check the temperature at your faucets to ensure it aligns with your thermostat setting. If you notice inconsistencies‚ consult a qualified technician. Proper temperature control not only enhances comfort but also extends the life of your water heater.
Routine Maintenance: Flushing the Tank
Regularly flushing your AO Smith water heater tank is vital for maintaining its efficiency and extending its lifespan. Sediment buildup‚ a natural occurrence‚ can accumulate at the bottom of the tank‚ reducing heating capacity and potentially causing damage. Flushing removes this sediment‚ ensuring optimal performance.
To flush the tank‚ begin by turning off the power (for electric models) or gas supply (for gas models). Connect a garden hose to the drain valve located near the tank’s bottom. Direct the hose to a safe drainage area. Open the drain valve slowly‚ allowing sediment to flush out. Be cautious‚ as the initial water may be hot!

Periodically open and close the cold water inlet valve to help stir up and remove sediment. Continue flushing until the water runs clear. Once complete‚ close the drain valve‚ refill the tank‚ and restore power/gas. Annual flushing is generally recommended‚ but frequency may vary based on water hardness.
Anode Rod Inspection & Replacement
The anode rod is a sacrificial component within your AO Smith water heater‚ designed to protect the tank from corrosion. It attracts corrosive elements‚ extending the tank’s life. Regular inspection and replacement of the anode rod are crucial preventative maintenance steps.
To inspect the anode rod‚ turn off the power/gas and water supply. Locate the anode rod (typically under a hex head plug on top of the tank). Carefully remove the plug and extract the rod. If the rod is significantly corroded (less than 6 inches of core wire remaining)‚ it needs replacement.
Replacement involves installing a new anode rod and tightening the plug securely. Using Teflon tape on the plug threads can prevent leaks. The frequency of replacement depends on water quality‚ but generally‚ every 3-5 years is recommended. Ignoring this maintenance can lead to tank failure and costly repairs.
Troubleshooting Common Issues
Diagnose and resolve typical AO Smith water heater problems like no hot water‚ leaks‚ or error codes. This section provides solutions for quick fixes and safety.
No Hot Water – Possible Causes & Solutions
Encountering cold water when you expect warmth? Several factors could be at play with your AO Smith water heater. First‚ verify the power supply – a tripped circuit breaker or blown fuse is a common culprit. Check your electrical panel and reset if necessary.
Next‚ inspect the thermostat settings. Ensure they haven’t been accidentally lowered or switched to the “pilot” or “vacation” mode. Adjust the temperature to your desired setting. If the thermostat seems functional‚ the heating element might be faulty‚ especially in electric models. A qualified technician should test and replace it.
For gas water heaters‚ check the gas supply. Confirm the gas valve is open and that there are no gas leaks. A malfunctioning thermocouple can also prevent the burner from staying lit. Sediment buildup in the tank can insulate the heating element‚ reducing efficiency and hot water output; regular flushing is crucial. Finally‚ consider a high hot water demand exceeding the heater’s capacity.
Leaking Water Heater – Diagnosis & Repair
Discovering a leak from your AO Smith water heater demands immediate attention. First‚ shut off the water supply to the unit to prevent further damage. Carefully inspect the source of the leak – is it coming from the tank itself‚ connections‚ the pressure relief valve‚ or drain valve?
A leak originating from the tank often indicates internal corrosion and may necessitate replacement‚ as repairs are typically not feasible. Loose connections can usually be tightened with a wrench‚ but be cautious not to overtighten. A dripping pressure relief valve suggests excessive pressure or temperature; investigate the thermostat setting and potential sediment buildup.
Corroded drain valves can be replaced relatively easily. If the leak persists or you’re uncomfortable performing repairs‚ contact a qualified plumber. Ignoring a leak can lead to significant water damage and potential safety hazards. Remember to drain the tank before attempting any repairs.
Error Codes & Their Meanings
AO Smith water heaters utilize error codes to signal potential issues‚ simplifying diagnostics. Understanding these codes is crucial for efficient troubleshooting. A common code‚ “E1‚” often indicates a faulty temperature sensor‚ requiring replacement by a qualified technician. “E2” typically signals a heating element failure‚ also necessitating professional attention.

“E3” may point to a problem with the high-limit switch‚ potentially caused by overheating. “E4” often relates to flame sensor issues in gas models‚ impacting ignition. “E5” can signify a gas valve malfunction‚ requiring immediate professional assessment for safety reasons. Refer to your specific model’s manual for a complete list.
Ignoring error codes can lead to further damage or unsafe operating conditions. Do not attempt repairs if you are unfamiliar with electrical or gas systems. Always consult a qualified technician for accurate diagnosis and repair. Document the error code before contacting support for faster assistance.

Warranty Information & Support
AO Smith provides robust warranties on its water heaters‚ ensuring peace of mind. Access detailed warranty terms and responsive customer support for assistance and claims.
AO Smith Warranty Details
Understanding your AO Smith water heater’s warranty is crucial for protecting your investment. AO Smith offers varying warranty periods depending on the specific model and component. Typically‚ the tank itself is covered by a limited lifetime warranty against leaks resulting from normal use‚ provided the unit is installed and maintained according to the manufacturer’s instructions.
However‚ other components‚ such as heating elements‚ thermostats‚ and electronic controls‚ usually have shorter warranty durations‚ often ranging from one to five years. It’s essential to register your water heater promptly after installation to activate the full warranty benefits. Proof of purchase is also required when submitting a warranty claim.

The warranty covers defects in materials and workmanship‚ but it does not cover damage caused by improper installation‚ misuse‚ abuse‚ neglect‚ or acts of God. Regular maintenance‚ like flushing the tank‚ is often a condition of maintaining warranty coverage. Carefully review the complete warranty documentation included with your water heater for specific terms‚ conditions‚ and limitations.
Contacting Customer Support
For assistance with your AO Smith water heater‚ several customer support avenues are available. The AO Smith website provides a comprehensive FAQ section addressing common questions and troubleshooting tips. You can also access downloadable manuals and product documentation online‚ offering detailed guidance for installation‚ operation‚ and maintenance.
If you require direct assistance‚ AO Smith offers phone support during business hours. Their dedicated customer service representatives can help diagnose issues‚ explain warranty coverage‚ and guide you through the repair process. Additionally‚ an online contact form allows you to submit inquiries and receive a response via email.
When contacting support‚ have your model number and date of purchase readily available to expedite the process. Authorized AO Smith service centers are also available for professional repairs and maintenance. Locate a service center near you through the AO Smith website’s service locator tool for qualified assistance.