
Assembling a metal bunk bed is a straightforward process requiring attention to detail. Ensure all safety precautions are followed, and gather necessary tools before starting. Proper assembly ensures stability and safety, making it essential to follow instructions carefully to avoid hazards.
Overview of Metal Bunk Bed Assembly
Metal bunk bed assembly involves systematically attaching side rails, support legs, and cross supports. Begin by organizing all parts and hardware, ensuring nothing is missing. Follow the instructions step-by-step to construct the frame, secure stabilizers, and assemble the ladder. Safety is crucial, so always use guardrails on the upper bunk and test the weight capacity before use. Proper assembly ensures stability and durability, making the bunk bed safe and functional for years to come. Attention to detail is key to a successful setup.
Importance of Proper Assembly
Proper assembly of a metal bunk bed ensures safety, stability, and longevity. Incorrect assembly can lead to structural weaknesses, posing risks of collapse or injury. Following instructions meticulously guarantees all parts are securely fastened, minimizing hazards. Guardrails and ladders must be correctly fitted to prevent accidents, especially for children. Regular inspections and maintenance are also vital to uphold safety standards and durability, ensuring the bunk bed remains a reliable and secure piece of furniture for years to come.

Safety Precautions
Always use guardrails on the upper bunk, especially near walls, to prevent entrapment. Never attach unauthorized items like hooks or belts, as they pose a strangulation hazard. Ensure the ladder is securely fastened to prevent movement. Avoid overloading the bed beyond its weight capacity, and never allow more than one person on the upper bunk. Regularly inspect all components for damage or loosening to ensure ongoing safety. Keep instructions handy for future reference and maintenance checks.
General Safety Tips
- Always use guardrails on the upper bunk to prevent falls and entrapment.
- Ensure the ladder is securely attached and used correctly for entering and exiting.
- Never exceed the weight capacity of the bunk bed.
- Regularly inspect all components for damage or loosening.
- Prevent unauthorized items like hooks or belts from being attached to the bed.
- Keep the assembly instructions handy for future reference and maintenance checks.
Specific Safety Guidelines for Upper Bunk
- Always install guardrails on both long sides of the upper bunk to prevent falls.
- Ensure the upper bunk is placed away from windows or blinds to avoid entanglement hazards.
- The ladder must be the only means of accessing the upper bunk; never use alternative climbing methods.
- Do not exceed the weight capacity specified in the assembly instructions.
- Consider using a night light to improve visibility for children using the upper bunk.
- Regularly inspect the guardrails, ladder, and frame for stability and damage.

Gathering Tools and Materials
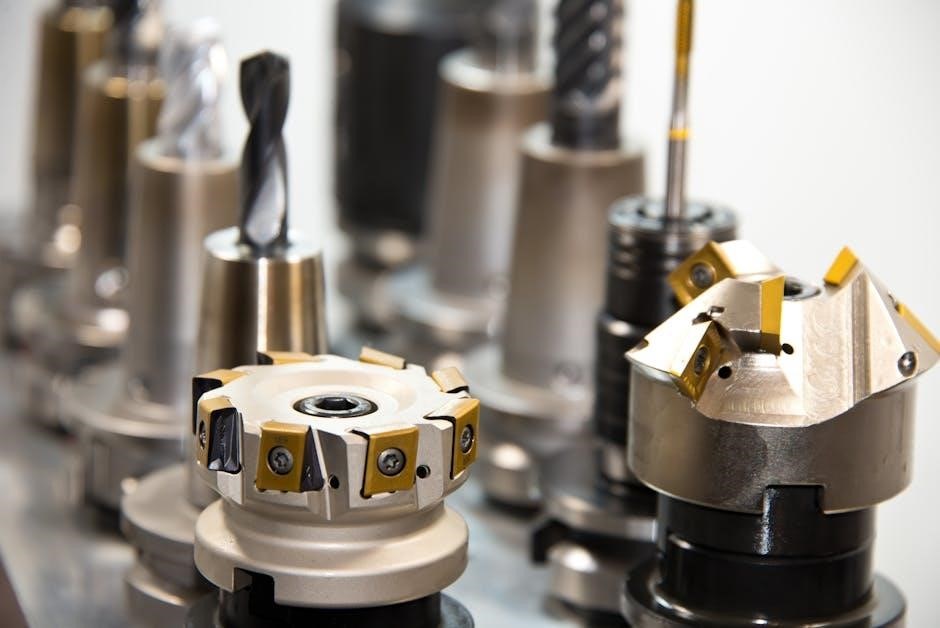
Essential tools include an Allen wrench, screwdriver, and pliers. Materials provided are pre-drilled side rails, support legs, bolts, screws, and cross dowels for secure assembly.
Essential Tools for Assembly
The tools needed for metal bunk bed assembly include an Allen wrench, Phillips screwdriver, pliers, and a socket wrench. A rubber mallet may also be useful for tightened parts. Ensure all tools are readily accessible to streamline the process. Additionally, having a second person to assist with lifting and holding pieces in place is highly recommended. Gather all hardware and instructions before starting to avoid delays. Proper tools ensure a secure and efficient assembly experience.
Materials and Hardware Provided
Your metal bunk bed assembly kit includes pre-cut metal frames, side rails, support legs, cross supports, and stabilizers. Hardware such as bolts, screws, and Allen bolts is provided for secure connections. Ladders and guardrails are also included for safety. Ensure all parts are accounted for before starting. The materials are designed to be durable and easy to assemble, with pre-drilled holes for alignment. Verify the completeness of the kit to avoid delays during assembly. Proper organization of these components will streamline the process.
Preparing the Workspace
Clear a large, flat workspace and protect the floor with the shipping carton. Ensure the area is free from clutter for safe assembly. Two people recommended.
Protecting Your Floor and Carpet
Before starting assembly, protect your floor and carpet from damage. Use the original shipping carton or a large drop cloth to cover the workspace. This prevents scratches, spills, or heavy parts from damaging the surface. Additionally, consider laying down old sheets or cardboard for extra protection. Ensuring the area is clear and protected will make the assembly process smoother and prevent potential damage to your home.
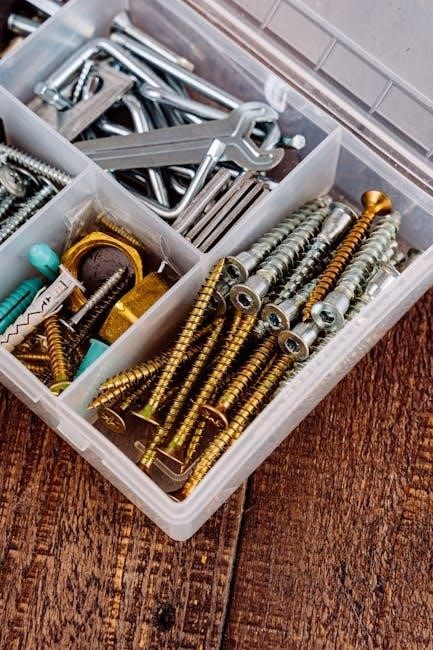
Organizing Parts and Hardware
Begin by verifying all parts and hardware are included using the provided checklist. Separate larger components like side rails and support legs from smaller items such as bolts and screws. Use containers or ziplock bags to keep small hardware organized and prevent loss. Label each part according to the manual to ensure easy identification during assembly. Double-check for any damaged or missing pieces before proceeding. Proper organization saves time and reduces assembly errors. Always refer to the manual for clarification if unsure.
Assembling the Bunk Bed Frame
Begin by attaching side rails and support legs to form the base. Secure cross supports for added stability, ensuring all bolts are tightly fastened. Follow instructions carefully.
Attaching Side Rails and Support Legs
Start by positioning the side rails on the floor, ensuring they are aligned with the headboard and footboard. Use the provided bolts to secure the support legs to the side rails. Tighten all connections firmly to ensure stability. It’s crucial to double-check the alignment to avoid wobbling. Always refer to the assembly diagram for precise placement. Ensure all hardware is tightened properly before moving on to the next step. This forms the base of the bunk bed frame.
Securing Cross Supports and Stabilizers
Locate the cross supports and stabilizers from the hardware kit. Attach them to the side rails using the provided bolts, ensuring they are evenly spaced for optimal stability. Align the supports with the pre-drilled holes and tighten firmly. Repeat this process for all cross supports. Use a level to ensure the frame remains balanced. Double-check all connections to guarantee the structure is rigid. Properly secured cross supports and stabilizers are essential for preventing the bed from wobbling or shifting during use.
Constructing the Ladder and Guardrails
Attach the ladder to the bunk bed frame using the provided bolts, ensuring it is securely fastened. Install guardrails on both long sides of the upper bunk to prevent falls. Align the guardrail brackets with pre-drilled holes and tighten them firmly. Make sure the ladder rungs are evenly spaced and stable. Double-check all connections to ensure the ladder and guardrails are properly secured. These components are critical for safe access to the upper bunk and preventing accidents.
Installing Safety Features
Install guardrails on the upper bunk to prevent falls. Secure the ladder firmly to ensure safe access. These features enhance overall safety and stability for users.
Mounting Guardrails on the Upper Bunk
Guardrails are essential for preventing falls from the upper bunk. Mount them securely on both long sides of the bed using the provided bolts or screws. If the bed is placed against a wall, ensure the guardrail running the full length is positioned against the wall to avoid entrapment. Tighten all connections firmly and verify stability. Proper installation is critical for safety and to prevent accidents. Always refer to the manufacturer’s instructions for specific mounting details.
Securing the Ladder to the Frame
Attach the ladder to the bunk bed frame using the provided hinges or brackets. Ensure the rungs align perfectly with the frame’s pre-drilled holes. Tighten all bolts securely to prevent movement. Double-check the ladder’s stability by applying gentle pressure. For added safety, ensure the ladder is centered and evenly spaced. Periodically inspect the ladder’s connections to maintain stability and safety. Properly securing the ladder is crucial for safe access to the upper bunk.

Final Checks and Testing
Inspect the bunk bed for stability and ensure all connections are secure. Test the weight capacity by gently applying pressure to confirm safety and sturdiness.
Inspecting the Assembly for Stability
After assembling the metal bunk bed, inspect all joints and connections for tightness. Ensure the frame is level and stable. Check guardrails and ladder for proper alignment and security. Test the bed by gently applying weight to confirm it doesn’t wobble or shift. Make sure all bolts and screws are tightened firmly. Regular inspections are crucial to maintain safety and prevent potential hazards over time. Stability ensures the bed remains secure for use.
Testing Weight Capacity and Safety
After assembly, test the bed by gradually applying weight to ensure it meets the specified capacity. Start with a small load and increase slowly, checking for any signs of instability or bending. Ensure the upper bunk is accessed safely using the ladder, and no more than one person occupies it at a time. Verify that guardrails are secure and prevent accidental falls. Always adhere to the manufacturer’s weight limits to guarantee safe and reliable use of the metal bunk bed.

Maintenance and Upkeep
Regularly inspect the bunk bed for wear and tear, ensuring all connectors and bolts are tight. Clean the frame and ladder to maintain durability and safety over time.
Regular Inspections for Wear and Tear
Regularly inspect the metal bunk bed for signs of wear and tear, such as loose bolts, rust, or damage to the frame. Check guardrails, ladders, and connectors for tightness and proper alignment. Address any issues promptly to ensure stability and safety. Clean moving parts to prevent corrosion and lubricate hinges if necessary. Replace worn-out components to maintain structural integrity. Keep records of inspections and maintenance for future reference. Neglecting inspections can lead to safety hazards, so consistency is key to longevity and reliability.
Cleaning and Lubricating Moving Parts
Regularly clean and lubricate moving parts, such as hinges and joints, to ensure smooth operation and prevent rust. Use a damp cloth to wipe away dust and dirt, avoiding harsh chemicals that may damage the metal finish. Apply a silicone-based lubricant to squeaky or stiff components. This maintenance step ensures the ladder and guardrails function properly, providing long-term durability and safety for users. Always follow the manufacturer’s recommendations for cleaning and lubrication products to maintain the integrity of the metal bunk bed.

Troubleshooting Common Issues
Identify and resolve common issues during metal bunk bed assembly, such as wobbly frames or loose parts. This section provides practical solutions to ensure stability and safety.
Addressing Wobbly or Unstable Frames
A wobbly frame can result from loose bolts or misaligned parts. Check all connections and tighten any loose hardware. Ensure cross supports are securely attached and stabilizers are properly aligned. If instability persists, verify that all parts are correctly assembled and aligned according to the instructions. Periodically inspect the frame for wear and tear, and test the bed’s weight capacity after repairs to ensure stability and safety.
Fixing Loose or Misaligned Parts
Identify loose bolts or screws and tighten them firmly. Check for misaligned parts and reposition them according to the assembly instructions. Ensure all hardware is securely fastened and cross supports are properly aligned. If parts remain misaligned, verify that they were assembled correctly and consult the manual for guidance. Periodically inspect and tighten all connections to maintain stability and prevent future issues.
Successful assembly ensures a safe and durable metal bunk bed. Always follow instructions and perform regular checks to maintain stability and longevity of the structure.
Final Tips for Successful Assembly
To ensure a successful assembly, always double-check each step and tighten all connections firmly. Use the provided tools and avoid over-tightening hardware. Position guardrails correctly and test the ladder for stability. Regularly inspect the bunk bed for wear and tear, and address any issues promptly. Following these tips will guarantee a sturdy and safe metal bunk bed for years to come.
Importance of Following Instructions
Following the provided instructions ensures the bunk bed is assembled safely and correctly. Proper assembly prevents structural instability and potential hazards. Use only the tools and materials specified to avoid damage or compromise. Tighten all bolts and screws as instructed, and ensure guardrails and ladders are securely attached. Neglecting steps or skipping safety measures can lead to instability or safety risks. Adhering to the guide guarantees a sturdy, reliable, and safe bunk bed for years of use.