
Safety Precautions for Schumacher Battery Charger Repair
Always disconnect the power supply before starting repairs. Wear protective gear like gloves and safety glasses. Follow the manufacturer’s guidelines and ensure proper ventilation.
Never attempt repairs near open flames or sparks. Keep the charger on a stable, heat-resistant surface. Read the manual thoroughly before proceeding.
Properly assemble the charger as per instructions to avoid accidents. Store loose parts safely to prevent misplacement or damage. Prioritize caution when handling electrical components.
Regularly inspect cables and connectors for wear. Ensure all repairs align with safety standards to prevent future malfunctions. If unsure, consult professional assistance immediately.
1.1 Essential Safety Measures Before Starting Repair
Before initiating any repair, ensure the charger is disconnected from the power source. Wear protective gear, including gloves and safety glasses, to prevent injuries.
Always operate in a well-ventilated area to avoid inhaling harmful fumes. Never work near open flames or sparks, as this could ignite flammable gases.
Place the charger on a stable, heat-resistant surface. Read the manual thoroughly to understand potential hazards.
Ensure all loose parts are securely stored to avoid misplacement. If unsure about any step, consult professional assistance immediately to prevent accidents.
1.2 Understanding Warning Labels and Symbols
Familiarize yourself with warning labels and symbols on the charger. These indicators highlight potential hazards, such as electric shock or fire risks.
Pay attention to symbols like the exclamation mark, which signals important information, and the electricity symbol, warning of high voltage.
Always follow the instructions provided with the labels to ensure safe repair practices. Refer to the manual for detailed explanations of each symbol and its meaning.
Adhering to these warnings is crucial to prevent accidents and ensure a safe repair process.

Common Issues with Schumacher Battery Chargers
Common issues include faulty fuses, malfunctioning thermal cut-offs, and worn connectors, often caused by overheating or power surges. These problems can lead to charging failures or system shutdowns.
2.1 Identifying Power Supply Problems
Power supply issues often manifest as inconsistent charging or complete charger failure. Check for blown fuses or tripped circuit breakers, which can disrupt the power flow.
Inspect the power cord for visible damage or frays, as this can cause intermittent connectivity. Ensure the charger is plugged into a functioning outlet.
Use a multimeter to test the charger’s output voltage, comparing it to the manual’s specifications. A deviation indicates a potential internal power supply malfunction.
Faulty thermal cut-offs or worn connectors may also disrupt power delivery, requiring replacement or cleaning. Addressing these issues promptly prevents further damage to the charger or battery.
2.2 Troubleshooting Charging Malfunctions
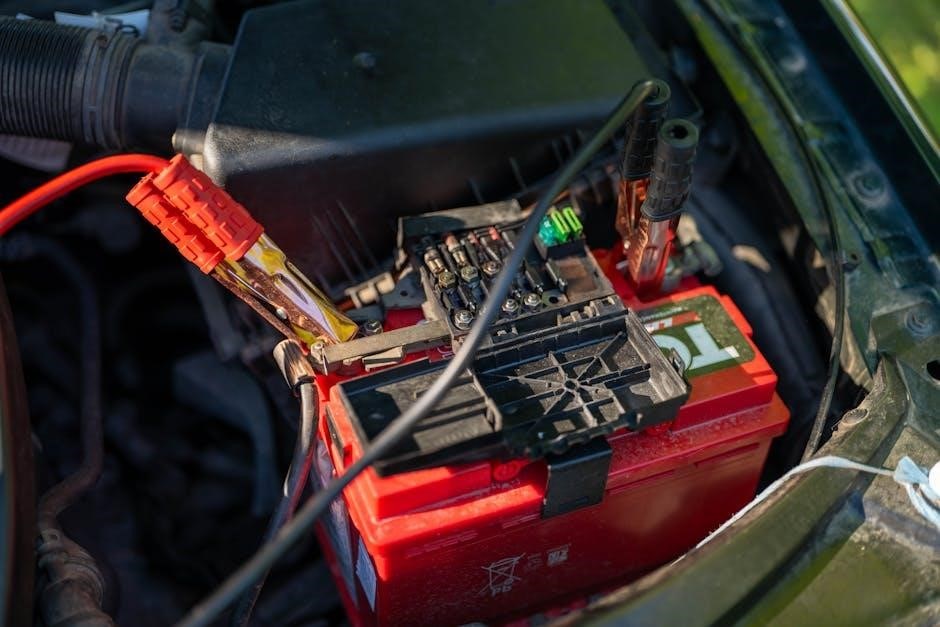
Charging malfunctions can stem from faulty connections or internal components. Start by ensuring all cables are securely attached and free from corrosion.
Verify the charger’s power source is functioning correctly. Use a multimeter to test the charger’s output voltage, ensuring it matches the battery’s requirements.
If the charger fails to activate, check for blown fuses or tripped breakers. Resetting the charger or replacing worn connectors may resolve the issue.
Consult the manual for specific error codes or LED indicators to identify the root cause. Addressing these issues promptly ensures reliable charging performance.
2.3 Diagnosing Display or LED Indicator Issues
Display or LED issues often indicate charging status or errors. Check if the display is dimmed or unresponsive, which may signal a power supply problem.
Refer to the manual for specific LED blinking patterns, as they often correspond to error codes. Ensure all connections are secure and clean.
If the display shows incorrect readings, verify the battery type and charger settings. Resetting the charger or updating firmware may resolve display malfunctions.
Consult the troubleshooting guide for detailed instructions on addressing LED or display-related problems effectively.
Step-by-Step Troubleshooting Guide
Start by checking the power cord and outlet for connectivity issues. Test the charger’s output voltage using a multimeter. Analyze blinking lights or error codes for specific faults.
Ensure the battery is properly connected and compatible with the charger. Refer to the manual for detailed diagnostic steps and solutions.
Address each issue systematically to restore functionality efficiently.
3.1 Checking the Power Cord and Outlet
Begin by inspecting the power cord for visible damage or fraying. Ensure the charger is plugged into a functioning outlet. Test the outlet with another device to confirm it works.
Verify that the cord is securely connected to both the charger and the outlet. If the issue persists, check for loose connections or tripped circuit breakers.
Consult the manual for specific troubleshooting steps related to power supply issues. Ensure the charger is placed on a stable, heat-resistant surface during the process.
If problems remain, consider contacting customer support for further assistance. Always prioritize safety when handling electrical components.
3.2 Testing the Battery Charger’s Output
Use a multimeter to measure the charger’s voltage and current output. Ensure the readings match the specifications in the manual. Verify that the charger is set to the correct battery type.
Check for any loose connections or corrosion on the terminals. If the output is inconsistent, inspect the internal circuitry for faults. Always follow safety guidelines when testing electrical components. Consult the manual for detailed instructions on proper testing procedures. Ensure the charger is properly assembled before use to avoid inaccurate readings.
3.3 Analyzing Error Codes or Blinking Lights
Consult the user manual to interpret error codes or blinking lights. Note the pattern and frequency of the lights. Verify connections are secure and correct. Access diagnostic modes for detailed information. If unresolved, contact Schumacher’s support or refer to online resources for assistance. This systematic approach helps identify and address issues effectively, ensuring proper functioning of the charger.

Repair Procedures for Specific Components
Replace fuses or circuit breakers if blown. Inspect and fix faulty thermal cut-offs. Replace worn-out connectors or cables to ensure proper connectivity and functionality. Follow manual guidelines.
4.1 Replacing the Fuse or Circuit Breaker

Disconnect the power supply before replacing the fuse or circuit breaker. Locate the fuse compartment, typically found in the electrical panel. Use a multimeter to check for continuity.
Replace the blown fuse with one of the correct rating specified in the manual. For circuit breakers, reset or replace them if damaged. Ensure all connections are secure.
After replacement, test the charger to confirm proper functionality. Always refer to the manual for specific instructions to avoid further damage or safety risks.
4.2 Fixing a Faulty Thermal Cut-Off
Locate the thermal cut-off near the battery terminals or inside the charger. Use a multimeter to test for continuity; if it shows no continuity, it’s faulty.
Replace it with a new one matching the manufacturer’s specifications. Ensure the charger is disconnected from power before starting.
Check for underlying issues like overheating causes. Test the charger after replacement to confirm proper function.
Refer to the manual for specific instructions to ensure safety and prevent further damage.
4.3 Replacing Worn-Out Connectors or Cables
Disconnect the charger from power and inspect connectors for wear or corrosion; Use a multimeter to test for continuity in cables. Replace any damaged or frayed wires
with compatible parts. Ensure connectors are securely tightened to avoid loose connections. Apply a small amount of dielectric grease to prevent corrosion. After replacement, test the charger to confirm proper function. Regularly inspecting and maintaining connectors can prevent future issues and ensure reliable charging performance.

Maintenance Tips to Prevent Future Issues
Regular maintenance ensures optimal performance and longevity of your Schumacher battery charger. Follow these essential tips:
- Clean the charger and battery terminals periodically to prevent corrosion.
- Store the charger in a cool, dry place when not in use.
- Check and update the firmware, if applicable, for the latest features.
5.1 Cleaning the Charger and Battery Terminals
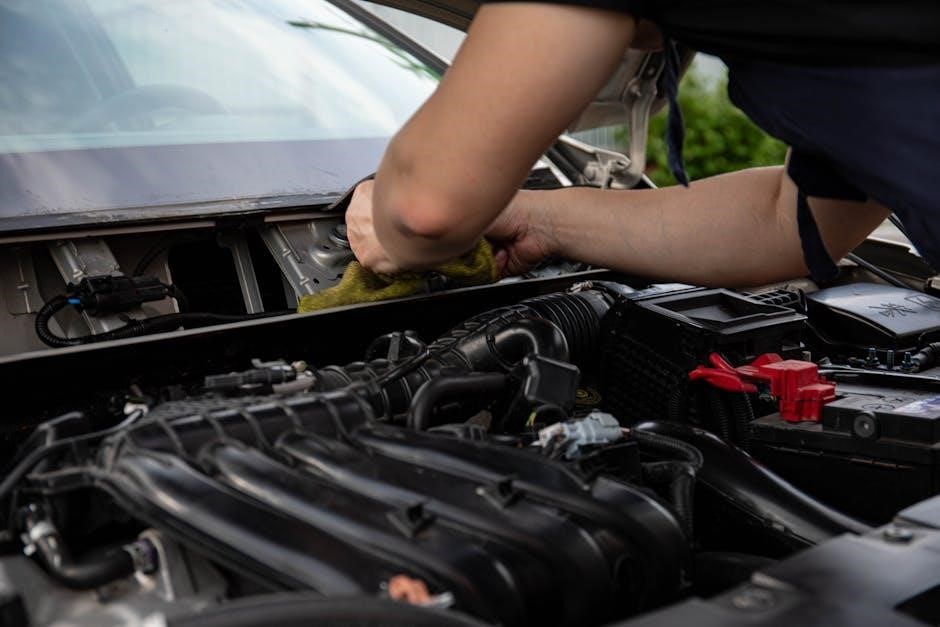
Regular cleaning of the charger and battery terminals is crucial for maintaining proper electrical connections. Use a wire brush to remove corrosion and debris from the terminals.
Apply a baking soda and water solution to neutralize acid spills or deposits. Rinse thoroughly with clean water and dry with a soft cloth. Avoid using harsh chemicals or abrasive materials that could damage the surfaces. Inspect the terminals for wear or damage and replace them if necessary. This ensures safe and efficient charging performance. Store the charger in a clean, dry environment to prevent future corrosion.
5.2 Storing the Charger Properly
Store the Schumacher battery charger in a cool, dry place away from direct sunlight and moisture. Use the original packaging or a protective cover to prevent dust accumulation;
Avoid extreme temperatures, as they can damage internal components. Ensure the charger is completely cool before storing. Keep it away from flammable materials and out of reach of children. Regularly inspect the charger for signs of wear or damage before and after storage. This ensures optimal performance and longevity when you need to use it again.
5.3 Updating Firmware or Software (if applicable)
Check the Schumacher website for firmware updates specific to your charger model. Download the latest version using a stable internet connection. Follow the manual’s instructions for installation.
Use compatible tools or software provided by Schumacher. Ensure the charger is fully charged and disconnected from the battery before updating. After installation, restart the charger to apply changes. Regular updates improve performance and fix potential bugs. If issues arise, contact Schumacher support for assistance.

Where to Find Repair Manuals and Resources
Download official Schumacher manuals from their website or authorized retailers like Amazon. These guides include detailed repair instructions, troubleshooting tips, and safety precautions. Contact customer service for additional support.
6.1 Downloading Official Schumacher Manuals
Official Schumacher repair manuals can be downloaded from their website or authorized retailers like Amazon. These manuals are available in PDF format and include detailed instructions, safety guidelines, and troubleshooting tips. Visit the Schumacher Electric official portal, navigate to the “Support” or “Resources” section, and search for your specific model. Ensure you download from trusted sources to avoid unauthorized or outdated versions.
These manuals are essential for safe and effective repairs, covering everything from basic maintenance to complex fixes.
6;2 Accessing Technical Support and FAQs
Visit the official Schumacher website and navigate to the “Support” or “FAQs” section for troubleshooting guides and repair manual downloads. For immediate assistance, contact Schumacher’s customer service at 1-800-621-5485 or via email. Their technical support team provides detailed solutions for common issues. Additionally, FAQs cover topics like error codes, charging malfunctions, and maintenance tips. These resources ensure quick resolution of problems without needing extensive manual searches. Utilize these tools to enhance your repair experience and maintain your charger effectively.
6.3 Recommended Tools for DIY Repairs
For effective DIY repairs, gather essential tools like a multimeter, wire cutters, and a soldering iron. Use thermal paste for heat sinks and replace fuses with compatible ones.
Insulated pliers and screwdrivers are crucial for safe handling of electrical components. A work light ensures clear visibility of small parts. Refer to the manual for specific tool recommendations. Having these tools ready will streamline the repair process and ensure safety; Proper equipment minimizes risks and enhances the quality of repairs.
Contacting Schumacher Customer Service
For immediate assistance, call Schumacher Customer Service at 1-800-621-5485. Email inquiries are also accepted for repair or return questions.
Visit their official website to access product manuals, safety data sheets, and technical resources.
Submit repair or replacement requests through their online portal or contact their support team directly.
They provide comprehensive support to ensure your Schumacher products function optimally. Reach out for professional guidance or feedback.
Customer service is available to address all your concerns promptly and effectively.
7.1 Phone and Email Support Options
Schumacher offers dedicated customer support via phone and email. Call their toll-free number, 1-800-621-5485, for immediate assistance with repairs or product feedback.
Email inquiries are also accepted for questions or concerns regarding your battery charger.
Their support team is available to address technical issues, repair requests, or general inquiries.
For faster service, include your product model and a detailed description of the issue.
Schumacher’s customer service is committed to resolving your concerns promptly and efficiently.
Reach out to their team for professional guidance or support needs.
7;2 Submitting a Repair or Replacement Request
To submit a repair or replacement request for your Schumacher battery charger, visit their official website and navigate to the support section.
Fill out the online form with your contact details, product model, and a clear description of the issue.
Ensure all required fields are completed accurately for prompt processing.
Attach any relevant documentation, such as proof of purchase, if requested.
Once submitted, a support specialist will review your request and contact you with further instructions.
Follow the provided steps carefully to ensure a smooth and efficient resolution.
For faster assistance, have your product information ready before submitting the request.